A loop can be nested inside of another loop. C++ allows at least 256 levels of nesting. When a loop is created inside another loop, forming multiple levels of loops then it is said to be a nested loop. Where the inner loop executes completely for each iteration of the outer loop. These are mainly useful for multi-dimensional data structures like matrices or grids, or to solve problems requiring repeated nested iterations.
Nested for Loops
When a for loop is nested inside another for loop is known to be a nested for loop. This is the most common form used for nesting.
Syntax
The syntax for a nested for loop statement in C++ is as follows −
for( init; condition; increment ){for( init; condition; increment ){statement(s);}statement(s);// you can put more statements.}
Example
#include <iostream>usingnamespace std;intmain(){for(int i =1; i <=3; i++){// Outer loopfor(int j =1; j <=2; j++){// Inner loop
            cout <<"Outer: "<< i <<", Inner: "<< j << endl;}}return0;}
This would produce the following result −
Outer: 1, Inner: 1
Outer: 1, Inner: 2
Outer: 2, Inner: 1
Outer: 2, Inner: 2
Outer: 3, Inner: 1
Outer: 3, Inner: 2
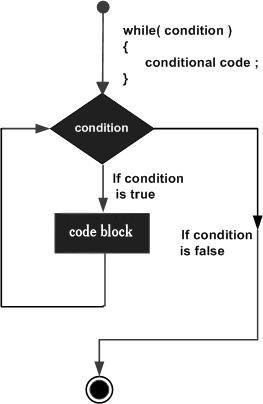
Nested while Loops
When a while loop is nested inside another while loop then its said to be nested while loop. This is mainly used when needed to determine the number of iterations dynamically.
Syntax
The syntax for a nested while loop statement in C++ is as follows −
while(condition){while(condition){statement(s);}statement(s);// you can put more statements.}
Example
#include <iostream>usingnamespace std;intmain(){int i =1;while(i <=3){int j =1;while(j <=2){
            cout <<"Outer: "<< i <<", Inner: "<< j << endl;
            j++;}
        i++;}return0;}
This would produce the following result −
Outer: 1, Inner: 1
Outer: 1, Inner: 2
Outer: 2, Inner: 1
Outer: 2, Inner: 2
Outer: 3, Inner: 1
Outer: 3, Inner: 2
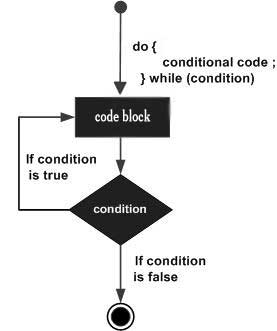
Nested do-while Loops
When a do-while loop is nested inside another do-while loop then its said to be a nested do-while loop. This ensures the loop is executed at least once before checking the condition.
Syntax
The syntax for a nested do…while loop statement in C++ is as follows −
do{statement(s);// you can put more statements.do{statement(s);}while( condition );}while( condition );
Example
#include <iostream>usingnamespace std;intmain(){int i =1;do{int j =1;do{
            cout <<"Outer: "<< i <<", Inner: "<< j << endl;
            j++;}while(j <=2);
        i++;}while(i <=3);return0;}
This would produce the following result −
Outer: 1, Inner: 1
Outer: 1, Inner: 2
Outer: 2, Inner: 1
Outer: 2, Inner: 2
Outer: 3, Inner: 1
Outer: 3, Inner: 2
Nested Loops Example
The following program uses a nested for loop to find the prime numbers from 2 to 100 −
#include <iostream>usingnamespace std;intmain(){int i, j;for(i =2; i<100; i++){for(j =2; j <=(i/j); j++)if(!(i%j))break;// if factor found, not primeif(j >(i/j)) cout << i <<" is prime\n";}return0;}
This would produce the following result −
2 is prime
3 is prime
5 is prime
7 is prime
11 is prime
13 is prime
17 is prime
19 is prime
23 is prime
29 is prime
31 is prime
37 is prime
41 is prime
43 is prime
47 is prime
53 is prime
59 is prime
61 is prime
67 is prime
71 is prime
73 is prime
79 is prime
83 is prime
89 is prime
97 is prime
How Nested Loops Affect Computational Complexity
Nested loops directly impact the computational complexity of a program because they increase the number of operations performed as the nesting depth increases.
If the Outer loop executes n times and the inner loop executes m times for each iteration of the outer loop, then the total iterations equals n*m, So time complexity equals O(mn), and if both loops have a similar range nm, then the complexity is approximately O(n^k), where k is the depth of nesting.
Example (O(n^2)) multi-dimensional arrays like matrix and pairs, (O(n^3)) triplets, (O(n^4)) etc.
- Increased Execution Time:
Each additional nested loop increases the total number of iterations exponentially, therefore Large input sizes n affect performance for higher time complexity (O(n^k)).
- Scalability Issues:
Nested loop may lead to poor performance in large datasets, for example processing a matrix of size 1000 * 1000 with O(n^2) results in 1,000,000 operations, which makes it less scalable.
Optimizing Nested Loops
As the nested loop is an important concept while dealing with a few problems, optimizing it will further improve the performance of your algorithms, especially when dealing with large data sets.
Nested loops often lead to exponential time complexities(e.g., O(n), O(n)), so optimizing it will make differences in execution time. Below are a few techniques to optimize it.
1. Avoid unnecessary nesting
The more loops you have, the slower the program becomes. So try to avoid any unnecessary nesting, sometimes rearranging the loops or changing its order can reduce the need for nested loops.
2. Use efficient data structures
Depending on the problem, you can use heaps, queues, and stacks to optimize access patterns. use hash sets or hash maps, which allows for constant time complexity for insertions and deletions. This is often used for a large array or list to avoid complex iteration over it.
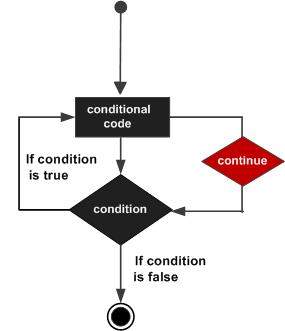
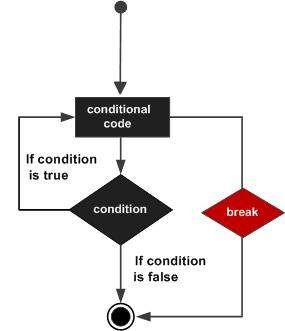
3. Break Early (Exit Conditions)
You can break out the loop early if needed or can continue to reduce unnecessary work.
4. Use Divide and Conquer or Dynamic Programming
Divide and conquer algorithms help in reducing nesting by breaking the problem into smaller subproblems, which are further solved independently and combined later. By dynamic programming, you can transform an exponential time complexity problem into a polynomial one.
5. Parallelization
You can use multithreading or multiprocessing if your nested loops are independent and can be computed parallel, this can speed up your program.
6. Applying Mathematical Optimizations and Built-in Functions or Libraries
Mathematical optimizations can help in reducing the need for nested loops for some problems.